We made some progress on the irrigation for the back planter this weekend.
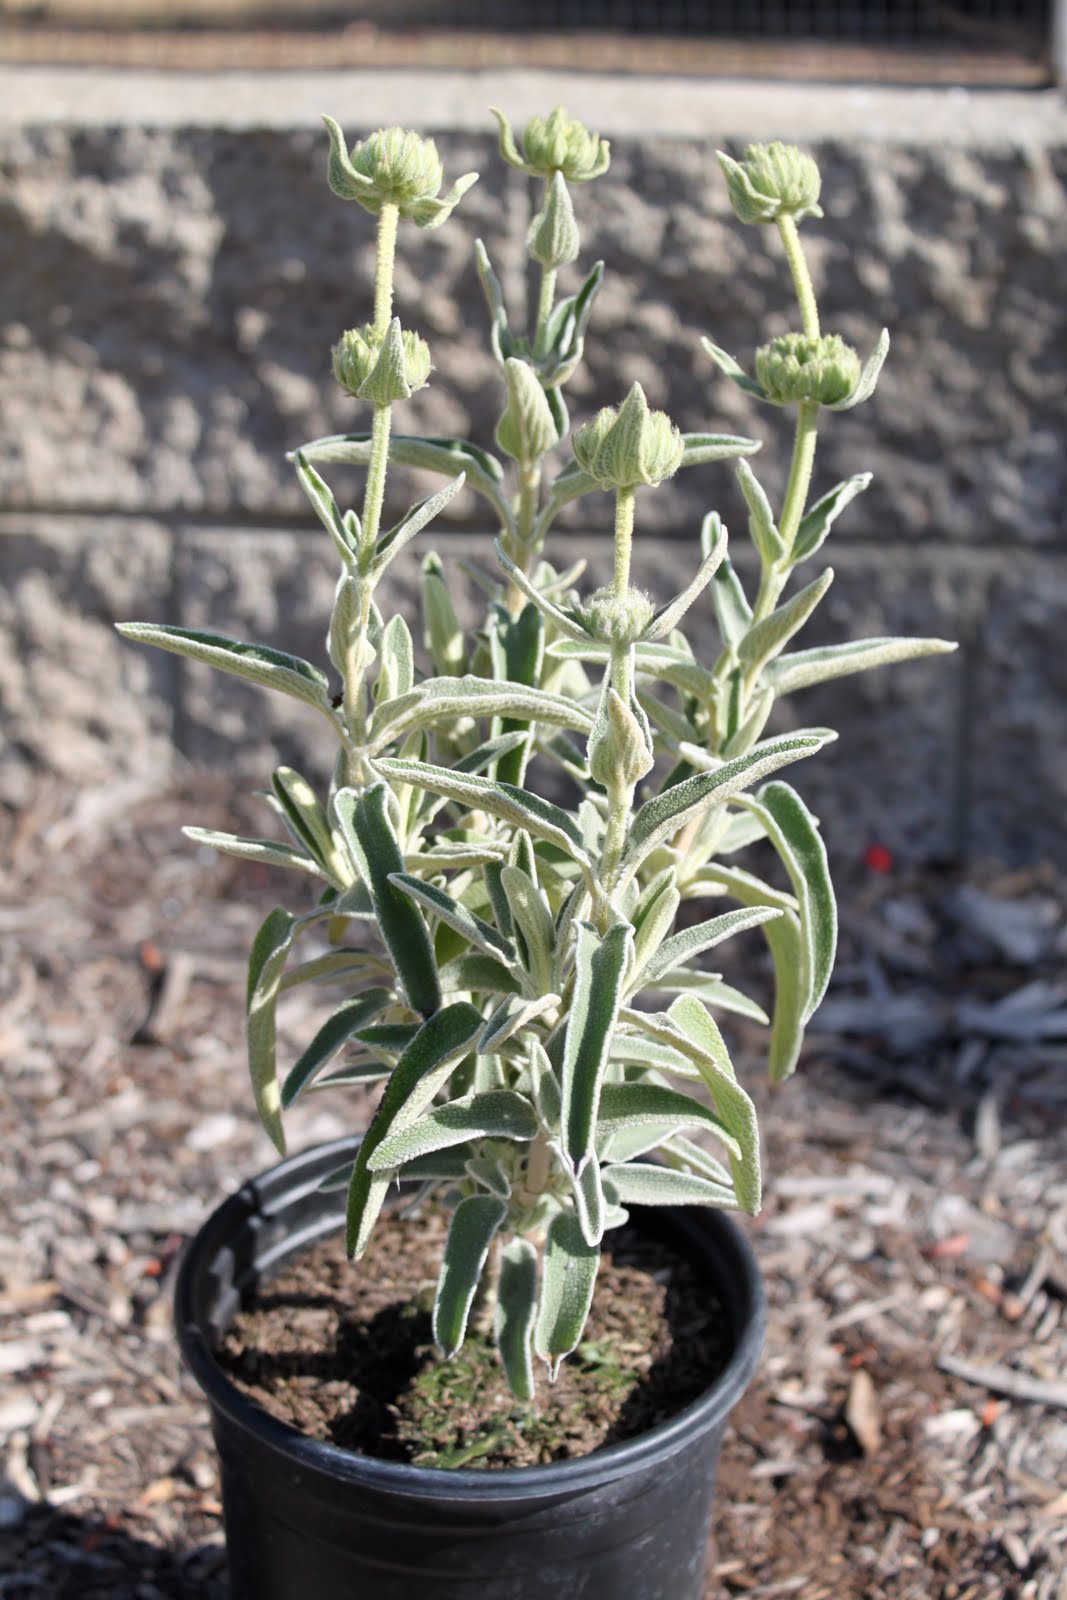
We were able to replace ten sprinkler heads that spit out 510 gallons per hour ("GPH") (10 heads, .85 gallons per minute) with four drip lines (soon to be five) totaling 30 gallons per hour. I actually had to walk out and count the number of emitters right now, as we have 1 GPH emitters on most plants, with some soaker hoses on others (I guessed 3 GPH on the soaker hoses, they aren't very long). That's a 94% decrease in our water for this area. Granted, it will increase as we put in more plants and they get bigger, but I don't believe we'll surpass 200 GPH for this bed. We plan on packing a lot of plants in there and making them as drought tolerant as possible. This is where we put the Jerusalem Sage and Lion's Tail. That potato vine in the background of the bottom picture doesn't have any irrigation going to it at the moment. I may add an emitter as it gets hotter, but we'll wait and see.
For full disclosure, I went to Toro's website and looked at what they said the output of a 180 degree sprinkler head was, as all 10 of ours were that. I may even be low, as our sprinkler heads were at least 13 years old, and I took the specifications of the latest and greatest.
Running all of the drip line took about three hours. It probably could have taken a little less, but it was hot, so there was beer involved. And, there aren't any leaks, so that shows you how damn easy it must be if a drunk can do it!
Being in Southern California, water is our most precious resource, in my humble opinion. I've even done some research that shows it doesn't pay to recycle paper here, because of the extraordinary amount of water it takes to turn recycled paper into another usable product. Apparently, to remove all of the toxins in the dying, bleaching and whatever else they do to it process. I'm not done with that research, yet. Another post.
In the meantime, I hope you'll be motivated to at least look into drip irrigation. I'll even be happy to come out and help. For a price, of course. Unless you're in London, in which case I may come out for Spurs tickets!!!
"I would have been here sooner, but I went into the wrong house, because THEY ALL LOOK THE SAME!" -Cousin Andrew
Showing posts with label back planter. Show all posts
Monday, July 12, 2010
Irrigation Update
Tuesday, July 6, 2010
Jerusalem Sage
I'm stretching the most recent acquisitions, as we are quickly coming to the end of our planting season. Once the temperatures start getting into the mid-90's F (35 C), we'll stop planting until the fall. Unfortunately, in our first season of plantings, we didn't get nearly as much accomplished as we had hoped. Plants are not inexpensive. Neither are kids. Unfortunately.
Anyway, staying on task, next up is our Jerusalem Sage (phlomis fruticosa).
After searching through my photos, I realized I never took a picture once it was put into the ground. Being the ingenious fellow I am, I realized there's enough light to run out and take a picture of it. Only to be met with "no card". No card?!?!? What the hell does that mean??? Obviously, that called for a call to my wife, who's much better at these things then me. I'm met with "I moved it to the other camera and I have that with me." Crap. I could wait until tomorrow to post this, but I am an American and delayed gratification is not something we are good at, so I'm posting it in the pot. It looks the same in the ground. Except, of course, the flowers are starting to bloom. You'll survive. Somebody told me that anticipation is the best part. They were an idiot.
Anyway, Jerusalem Sage is native to the Mediterranean. They get about four feet high and wide, and they have furry silver leaves, which I believe means they are somewhat drought tolerant. That's good, since it was planted in the bed that I thought was watered significantly more then it really was. It's a dog eat dog world at Castle Turling. Bright yellow flowers bloom throughout the spring and summer months. We put this right next to the gate that leads to the community path right behind our house, so it should be a nice lead in to wander up the small staircase to the gate. Again, a picture would have been spectacular right here.
Monday, July 5, 2010
Lions and Tigers and...
...ok, just lions. Lion's Tail, that is. Leonotis leonurus. I almost bought it just for the name.
Native to southern Africa, it will get substantially bigger then the two feet it is now. It will get large tubular orange flowers that look like, well, a lion's tail! HA! These gardener's are so clever with their naming.
After this one was in the ground for a couple of day's, though, it looked like this.
One sad lion. The moral of this story is to WRITE DOWN your irrigation schedule and don't rely on the memory of the man who goes for a run and forgets to put on his shorts. Long story, different post. I swore this bed got water three times a week only to see that it was really one! No wonder nothing was growing with the temperature now creeping into the 90's F. Never fear, all is well once again. And, no, I still haven't written down the irrigation schedule. Baby steps people, baby steps.
Tuesday, June 29, 2010
Drip Irrigation Retrofit
This past weekend, we began retrofitting the back planter sprinkler system. I order much of my stuff through The Drip Store (I'm going to get free crap if it kills me). They have an excellent tutorial you can download and their customer service has been quite helpful in answering my questions. I must note, that I do not get anything from them and, honestly, they probably don't even know I exist. I just found their tutorial and starter kits to be very helpful.
Now, the previous homeowner, whom I am related to, did a fantastic job in the irrigation system. Everything in all 10,000 square feet is covered with overhead sprayers on eight valves and it works flawlessly. That is a HUGE advantage we have. We simply want to change over to a drip system. However, we don't want to be digging up the yard in order to do so. Hence, the retrofitting.
In order to retrofit an existing system, you need four pieces per sprinkler head you wish to use, in addition to the hose itself. We'll cover that in a future post. No use shooting our wad all at once. From left to right is a 90 (imagine a little degree sign here, as I have no idea where in the hell that is on the keyboard) elbow connector. This piece is fitted to the riser. We'll get to that later. Next is the 25 psi pressure regulator. The pressure regulator is very important and is dependent on the hose and fittings you are going to use. Both of those should display what the recommended psi is. This is the hose connector. The 1/2" black hose is inserted into the slip end and is held in place with pressure alone. Next, no shown, is the hose. Last, on the right, is the plug which goes at the far end of the hose. Otherwise, water would gush out all over the place and that would be idiotic. Held in place just through pressure alone.
Sprinkler head. We've all seen one.
Insert riser. I buy the adjustable risers where you can cut off the sections you don't need. I try to get the top to be right at ground level to hide it as best as possible. You can put this system completely underground, but it makes maintenance difficult.
There are three of the four pieces in order from left to right as noted above. The 90 (imagine degree sign) elbow, pressure regulator and connector. I use plumbers tape in all the joints just to be safe. I have found they occasionally leak. I find this out when there is a massive mound of weeds growing around your retrofit. And, they are normally the prickliest damn weeds on the planet. Guaranteed.
Here is the hose running down the back of the planter box. We can probably handle anywhere from 12 to 20 plants from this one line, depending on the size. Some of the larger plants, like the Lion's Tail we just purchased which will be in a future post (I know you're just giddy with excitement!!) will take two emitters. So, I guess I should have just said it will handle about 20 emitters. Christ, sometimes I can't keep up with myself.
Hold on, we're not done. Lastly, you need to plug the sprinkler heads that won't be used. Here we will probably be able to block three heads for every one we use. That will remove 12 heads and replace with three or four drip lines. As I have said previously, the County of San Bernardino charges for a minimum amount of water, whether used or not. Our goal is to always stay below that, even with the lawn. If I'm paying for it, I'm going to use it. If they lower the allotment, I'll lower my usage. Now, who needs a cocktail?
Wednesday, May 12, 2010
Flowery Viney Things
'Scarlet Pimpernel' Dipladenia. A really little one. The flowers look pink, but they are much more red and actually turns a deep scarlet as the plant matures. This is another that we had in our house in Huntington Beach. Don't worry, I've think we've run out of plants to duplicate here. It wasn't a very big house.
This one we are going to train to go up a pyramid trellis, which you can't see in this picture. That's because it's still sitting at the nursery waiting for us to come purchase it. But fear not, loyal reader, for we will be happy to share once we get it. These, I think, grow fairly quickly, so that purchase had better be made soon.
P.S. I failed to mention, due to my refusal to relive it, that our beloved Tottenham Hotspur fell to relegated Burnley last Sunday. No matter, as Arsenal won, so there was no possibility of third. We still finished fourth and qualified for Champion's League, which Spurs have never done before. Congratulations to the lads from the west side of the big land mass west of the pond.
Tuesday, May 11, 2010
Weekends Plantings
This past weekend, in addition to the Mother's Day festivities, we were able to make it to the nursery to start on the back planting bed. One of these days I'm going to make an actual diagram of the yard, because I'm finding we tend to jump around all over the place. It goes hand in hand with my having the attention span of a gnat.
Anyway, we first started with some Cuphea Llavea 'Flamenco Samba'.
Hmmm. Too much sun. This was the flower a few posts ago whose name I couldn't remember. We have had this plant at our last home and it was gorgeous. It does have a tendency to get a bit leggy, but can easily be trimmed back in the winter and bounces right back again the following spring. It will get about two to three feet in all directions.
Next up is Helichrysu Petiolare 'Limelight'.
This is one of my wife's favorites. We also had it at our home in Huntington Beach before moving. It was mixed in with the Flamenco Samba and looked quite stunning. This one does creep and the foliage will start to gray in the the center. We found keeping it constantly trimmed and removing the gray matter regularly kept it looking tip top.
This is how the initial set up is.
We currently have seven of the Flamenco Samba's and three of the Limelights. Some of the Samba's are a little small. We bought five of them a few weeks back and they were ravaged by the dog we were dogsitting. They're fighting back, though. The dog is gone, so we felt safe adding more. I don't mean gone as in with his maker, I mean back with his owners. The hope is to create a meandering line of the Samba's with the limelights in between. In the back (to the right of thg bottom picture) we're going to squeeze in items with height, as we would like to enclose the garden in some.
Subscribe to:
Posts (Atom)